Facebook is one of the most popular social media platforms, connecting billions worldwide. However, in the digital realm, misunderstandings and disagreements may arise, leading to blocking friends, acquaintances, or even family members.
Fortunately, if you rekindle the connection, Facebook offers a straightforward process to unblock someone. This blog post will guide you through the step-by-step process of unblocking someone on Facebook.
Why Unblock Someone?
Blocking someone on Facebook can be a temporary or permanent decision to protect your privacy, maintain peace, or simply avoid unwanted interactions. However, situations change, emotions cool down, and reconciliations happen. Unblocking someone grants them access to your profile again, allowing them to see your posts, interact with you, and send messages.
Step 1: Log into Your Facebook Account
To begin unblocking, visit the Facebook website (www.facebook.com) or open the Facebook app on your mobile device. Log in with your email or phone number and password.
Step 2: Access the Blocking Settings
Once you’re logged in, click on the downward-facing arrow in the top right corner of the Facebook page. This will open a drop-down menu. Select “Settings & Privacy” from this menu, then click “Settings.”
Step 3: Navigate to the Blocking Section
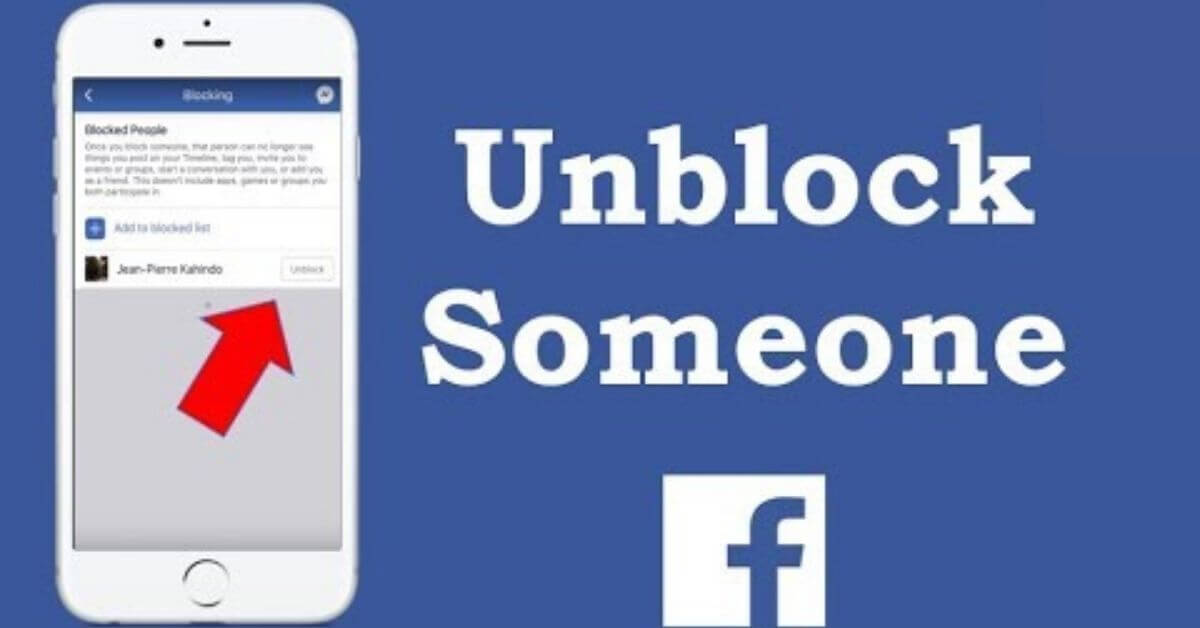
You’ll find a list of various options in the left-hand column of the Settings page. Scroll down and click on “Blocking.” This is where you can manage your blocked users and initiate the unblocking process.
Step 4: View Your Blocked Users
Upon clicking the “Blocking” section, you’ll see a list of all the people you’ve previously blocked. This list is private, and only you can access it. You’ll find the names or profiles of individuals you’ve blocked here.
Step 5: Search for the Person to Unblock
Scroll through the list to find the person you want to unblock. You can also use the search bar within the Blocking page to find their profile quickly.
Step 6: Unblock the Person
Once you’ve located the person you want to unblock, click the “Unblock” button next to their name. Facebook will then prompt you with a confirmation message, asking if you are sure about unblocking the person. Confirm your decision by selecting “Unblock” once again.
Step 7: Verify Successful Unblock
After clicking “Unblock,” the person will be removed from your blocked list. You’ll be able to see their posts and profiles and interact with them as you did before blocking them. However, if they had previously unfriended you, you must send them a friend request again.
Conclusion
Unblocking someone on Facebook can be a thoughtful gesture, showing that you’re open to reconciling or reconnecting with the individual. The process is quick and easy, ensuring you can undo a block whenever you feel comfortable doing so.
Remember, unblocking someone doesn’t necessarily mean you have to continue engaging with them. It’s essential to maintain healthy boundaries and relationships on social media platforms. Whether you unblock someone to rekindle your friendship or to forgive and move forward, Facebook provides a convenient way.